Dec 10, 2024
How to Convert Figma to HTML: A Step-by-Step Guide
Learn how to convert Figma designs to responsive HTML with our comprehensive, step-by-step guide. Streamline your workflow and bring your prototypes to life.

Marcus
UX Designer
Figma has revolutionized the way designers create and collaborate on user interfaces (source). However, converting those designs into functional HTML can sometimes feel daunting. Whether you're a developer looking to streamline your workflow or a designer aiming to bridge the gap between design and development, this guide will walk you through the essential steps to convert Figma designs to HTML efficiently. Learn more about how Publish Ninja simplifies Figma to HTML.
Why Convert Figma to HTML?
Before diving into the conversion process, let’s briefly discuss why this conversion is important:
Prototyping to Production: Turning your designs into HTML allows you to bring prototypes to life, making them interactive and usable.
Collaboration: Facilitates communication between designers and developers, ensuring that the final product aligns with the original vision.
Responsive Design: Helps implement responsive design principles, making websites accessible across devices.
Step-by-Step Process to Convert Figma to HTML
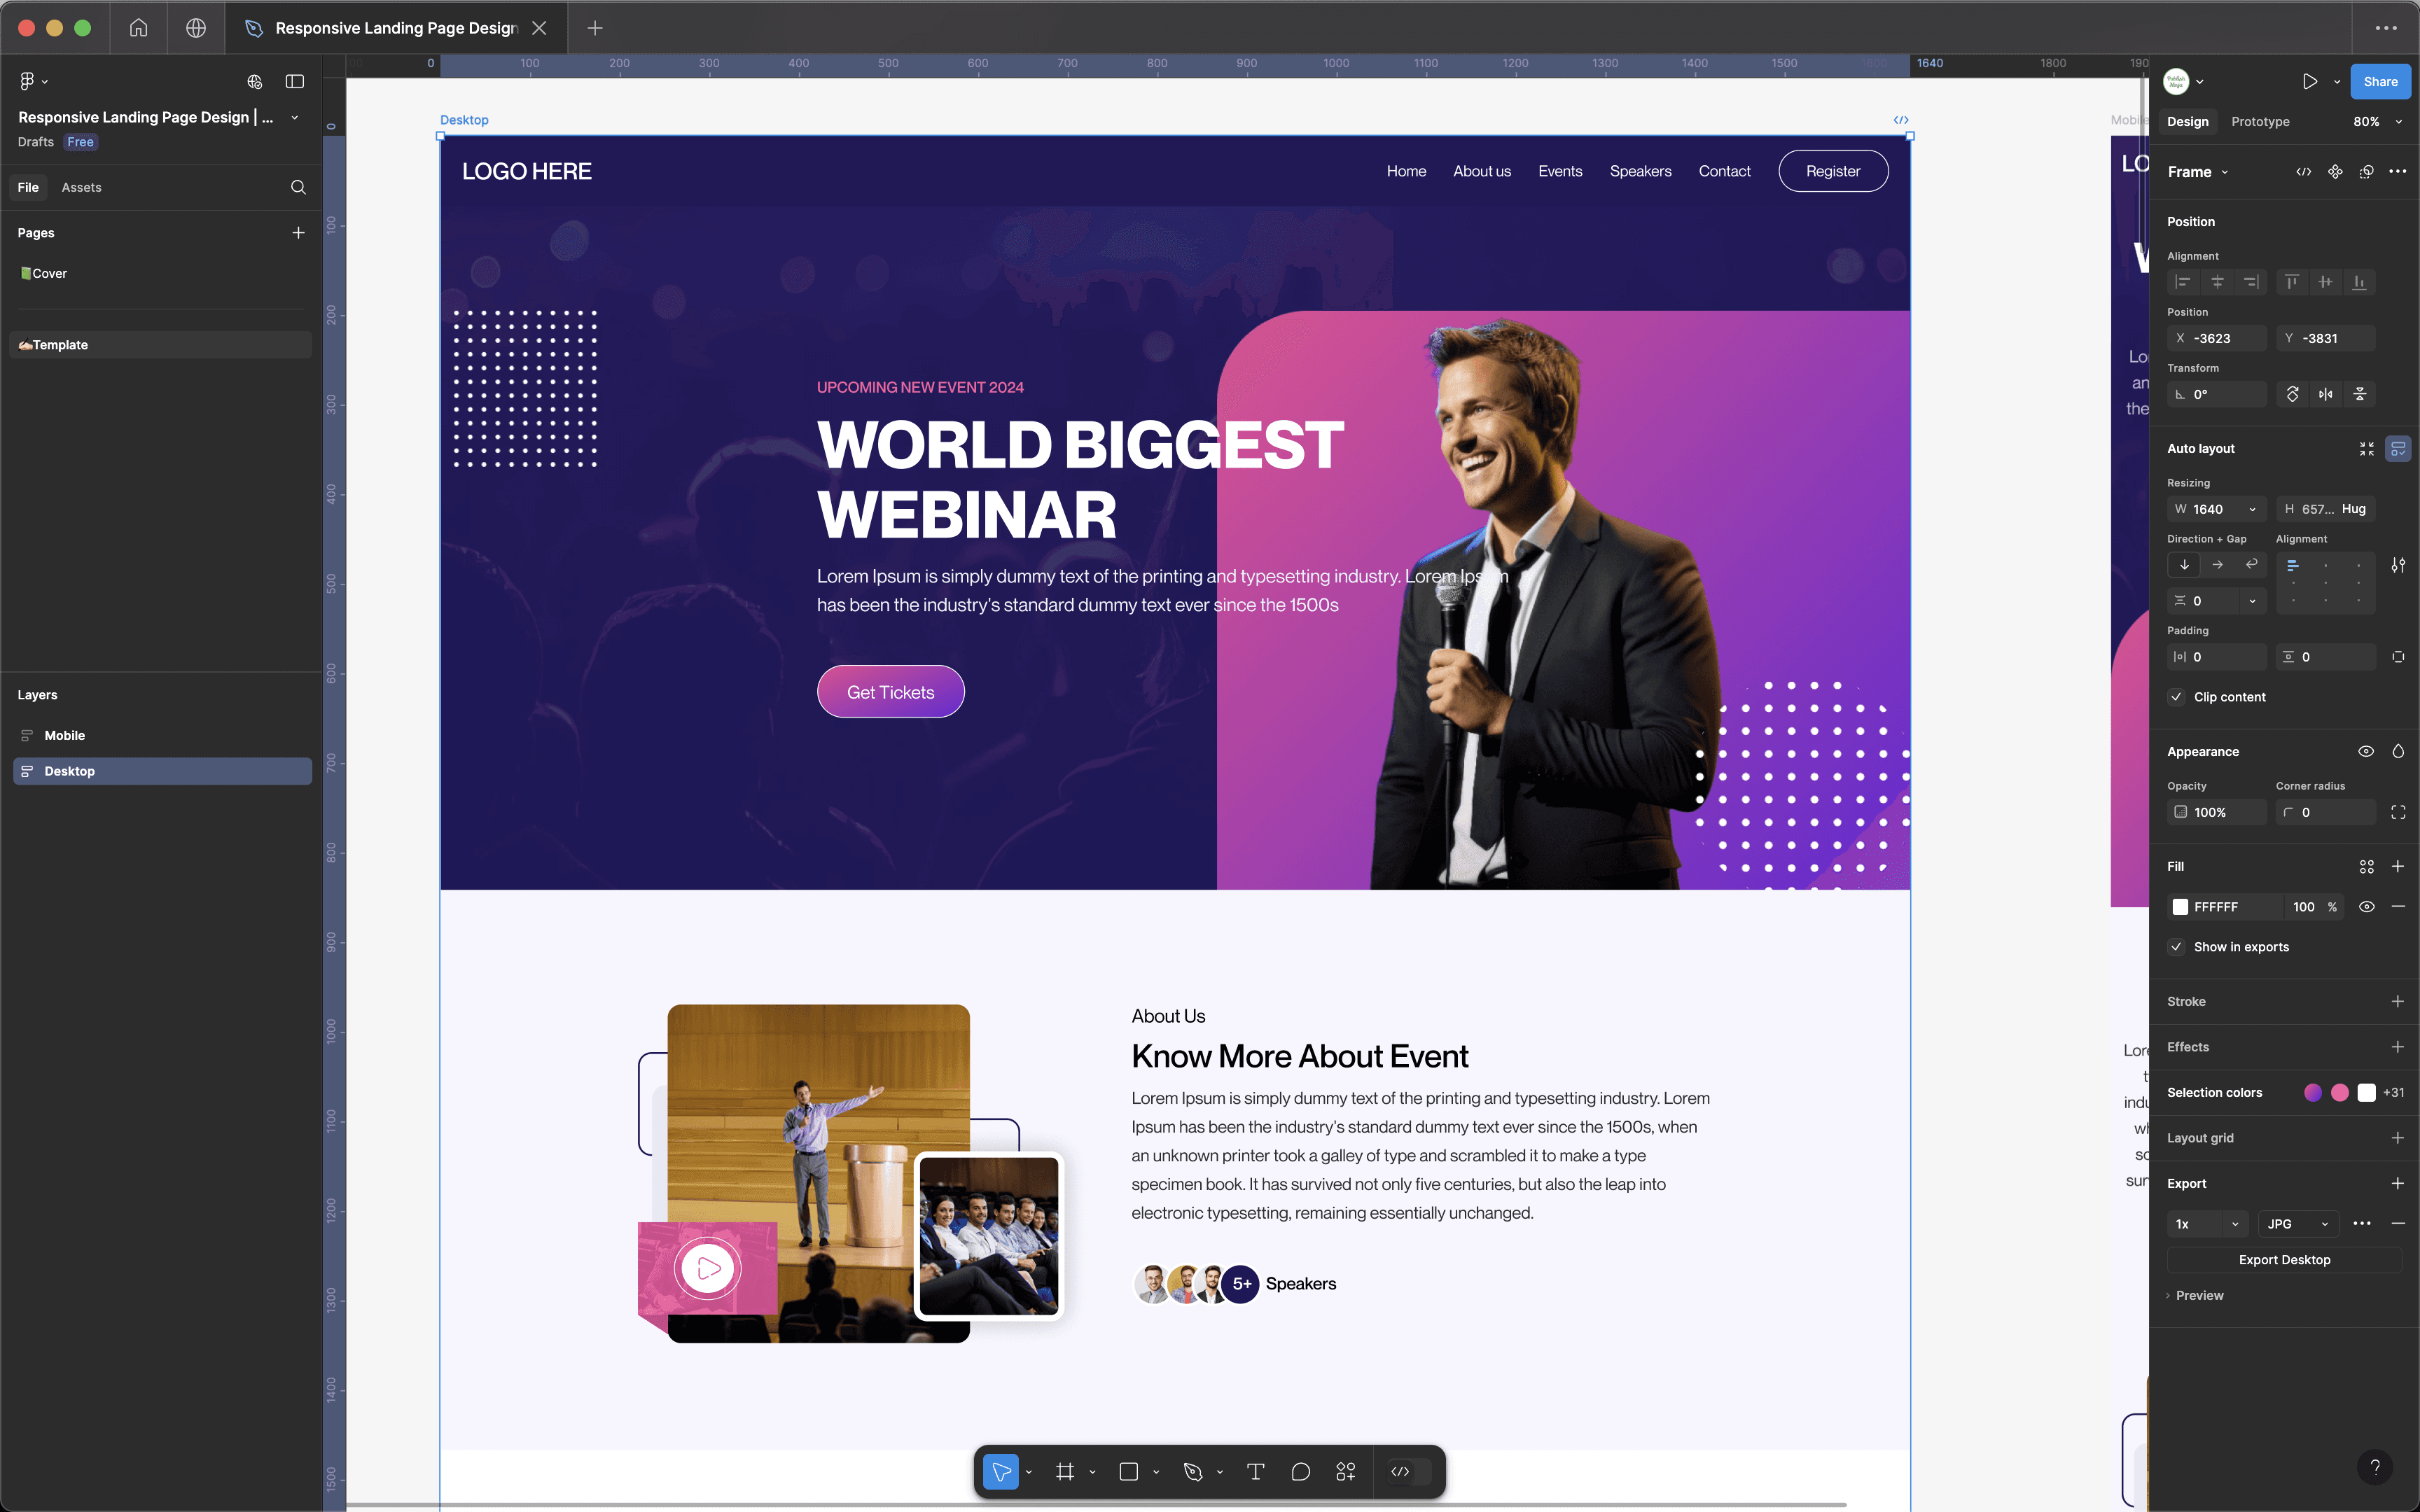
Step 1: Prepare Your Figma Design
Organize Layers: Ensure your Figma layers are well-organized. Use meaningful names for frames, components, and layers to make it easier to identify elements later.
Use Grids and Constraints: Implement grids and constraints in your designs. This will help in creating a responsive layout in HTML and CSS.
Export Assets: Select the images, icons, or any other graphical elements you want to export. Right-click and choose “Export,” selecting the appropriate formats (PNG, SVG, etc.).
Want finished Figma design that are fully responsive with autolayout? See our Figma templates here.
Step 2: Choose Your Conversion Method
There are multiple ways to convert Figma designs to HTML, depending on your needs and expertise:
Manual Conversion
If you have coding experience, manually converting designs can give you full control over the code. Follow these steps:
Setup Your HTML Structure: Create an HTML file and set up the basic structure:
<!DOCTYPE html> <html lang="en"> <head> <meta charset="UTF-8"> <meta name="viewport" content="width=device-width, initial-scale=1.0"> <link rel="stylesheet" href="styles.css"> <title>Your Project Title</title> </head> <body> <!-- Your content goes here --> </body> </html>Implement CSS Styles: Create a
styles.cssfile to define your styles. Use Figma's CSS properties (found in the right-hand sidebar when selecting an element) as a reference to apply styles like font size, colors, margins, and paddings.Add Assets: Include the exported images and icons in your HTML by using the
<img>tag or as CSS background images.
You can use MDN Web Docs for detailed explanations on HTML structure and CSS implementation.
Automated Tools
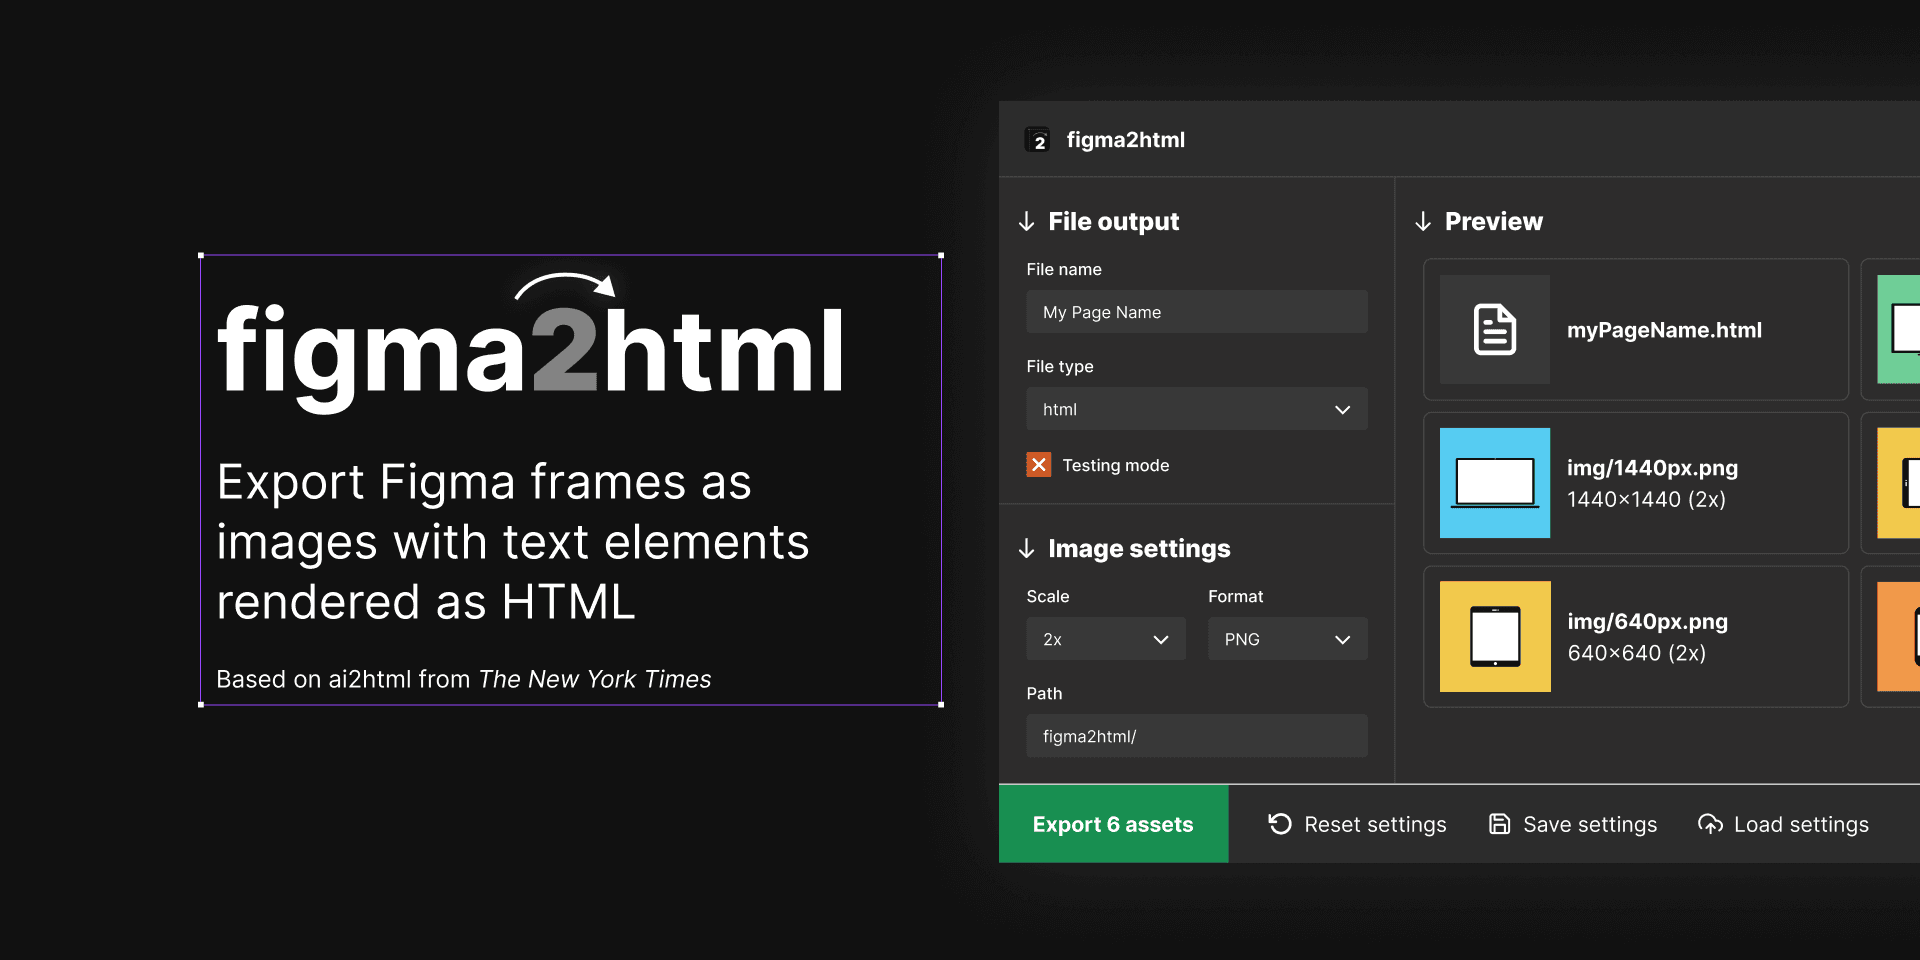
If you're looking for a quicker method, consider using Figma plugins or online tools that automate the conversion process:
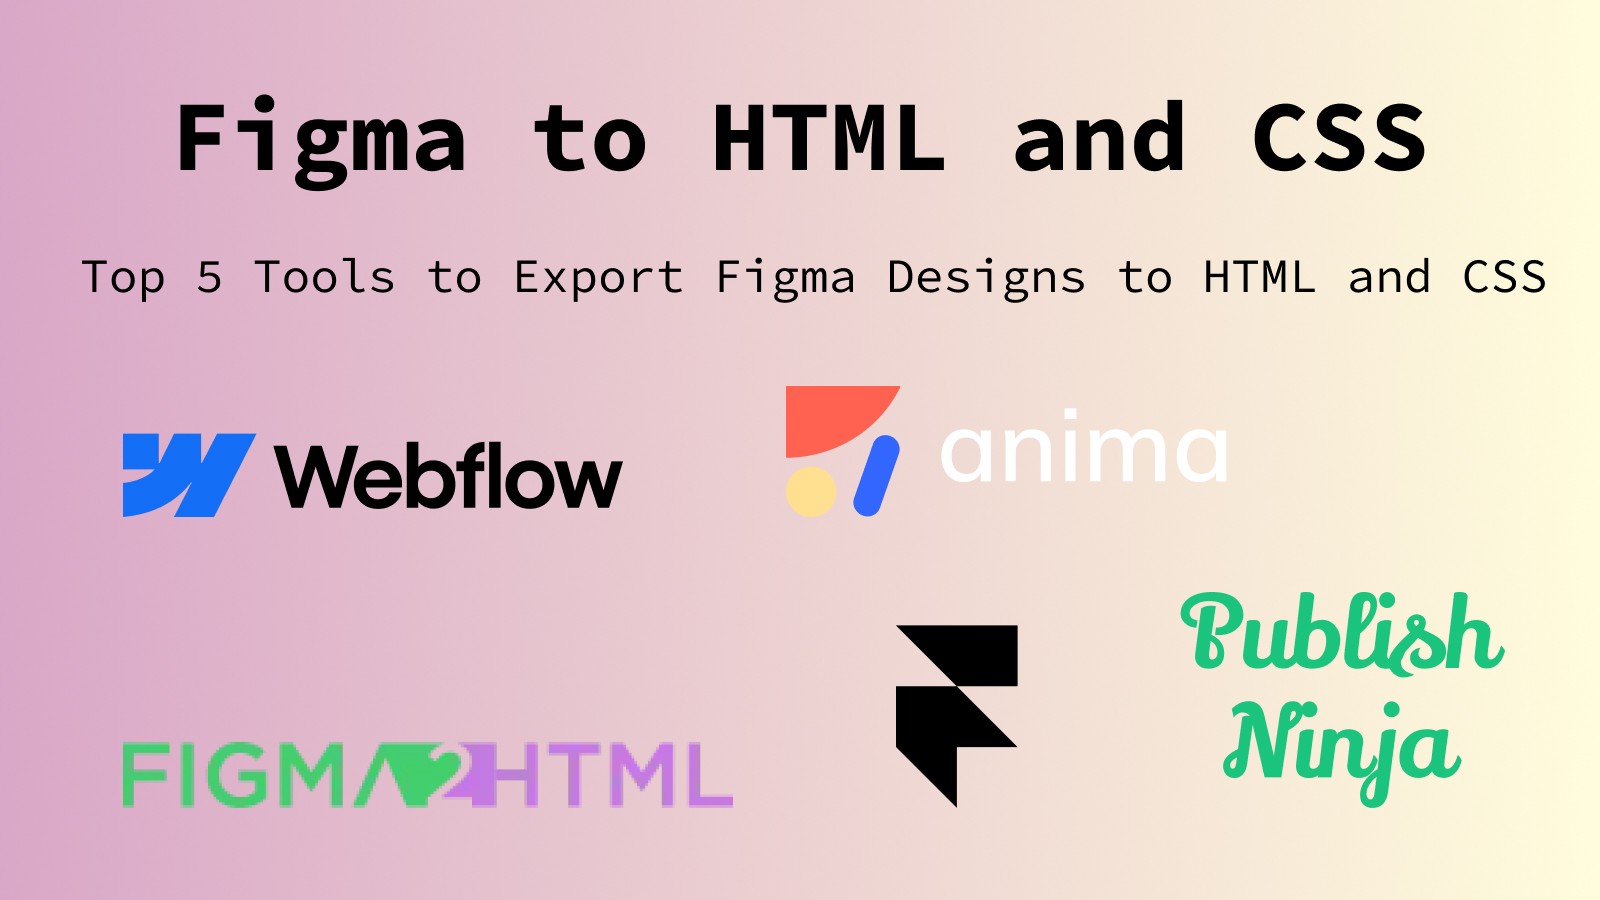
Figma to HTML Plugins: Explore plugins like Figma to HTML or Anima, which can export your designs as HTML and CSS. Simply install the plugin, select your design, and follow the prompts to export.
Online Conversion Tools: Websites like Figma2HTML allow you to upload your Figma files and generate HTML code. While this method can be fast, be sure to review the output to ensure it meets your standards.
Publish Ninja: Explore how the Publish Ninja plugin for Figma can automatically convert your Figma designs to HTML and CSS and then publish directly to your own URL.
Step 3: Make It Responsive
Use Media Queries: To ensure your website looks good on all devices, implement media queries in your CSS. For example:
cssKopiera kod
@media (max-width: 768px) { /* Styles for mobile devices */ }Test Responsiveness: Use browser developer tools to simulate various screen sizes and make necessary adjustments.
Learn more about CSS media queries to implement responsive designs effectively.
Step 4: Test Your HTML
Cross-Browser Testing: Check your HTML output in different browsers (Chrome, Firefox, Safari) to ensure consistency.
Performance Optimization: Optimize images and CSS to enhance loading speeds.
Step 5: Deploy Your Website
Once you're satisfied with the conversion, it’s time to deploy your website. For manual hosting, you can use platforms like GitHub Pages, Netlify, or Vercel.
Conclusion
Converting Figma designs to HTML doesn’t have to be a daunting task. Whether you choose to do it manually or use automated tools, following these steps will help you streamline the process and maintain the integrity of your designs. With Publish Ninja, you can enhance your workflow by turning your Figma designs into responsive, production-ready HTML websites effortlessly. Ready to simplify your Figma-to-HTML workflow? Learn more about Publish Ninja and start your free trial today! Happy designing!

